Archive

Apr 13, 2011

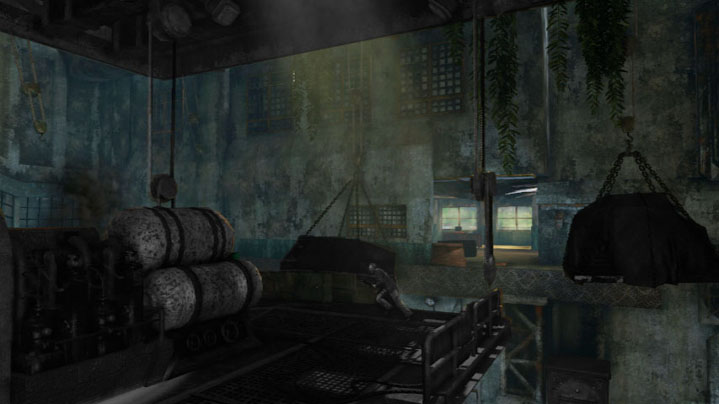
Uncharted 2™ Environment and Props Work - Multiplayer

The following are my works and involvement in Uncharted 2™ Multiplayer as an outsourcing artist. 

Most of them are modeled and UVed from blockmeshes that NaughtyDog has provided. All textures and some additional detail are done by NaughtyDog™.

(Please click images to enlarge.)

MP Ice Cave


MP Village


MP Fort


 MP Highrise


MP Facility 


Screenshots were taken from the game Uncharted 2™ in a PlayStation 3™ system using the Cinema function in Multiplayer.


All images were cross-checked by NaughtyDog before posted.
(Reference is available upon request.)

Mar 22, 2011

NextGen Env WIP - Modeling Progress Sample (UPDATED March 30)

Below is a screenshot of the first day of modeling progress. This small environment  mesh will make use of only the textures I have at the moment, to conserve time and texture memory budget as I import it in a game engine as a final product. A few additional polygon cuts are already evident in the models, to make way for vertex blending in the future as well.


UV mapping is also being done along with the modeling as a good practice, to avoid consuming more time in mapping them later as the model becomes more complex. This method also lets you see how the model will basically look with the textures applied since it is already shown with correct proportions.


More detail and meshes can be expected in the upcoming posts.


Maya Hardware Playblast Turntable:


Vertex Blend Shader courtesy of Jeiel Aranal (jeiel.aranal@gmail.com)

Mar 19, 2011

NextGen Env WIP - Texture Samples

The following are sets of NextGen textures I made intended for a personal project that I started last February during my free time. Each texture set contains a diffuse map, normal map, specular map and a height map, with a resolution of 512x512, authored from 1024x1024. Each set can be tiled seamlessly across any direction.

All textures are hand painted/sculpted in 3D, with no use of photographs other than a bit of help in color variation. Zbrush was used for sculpting the details and laying them out in 2.5D and Photoshop was used to composite and paint the colors in. Height maps that are included in every set will be utilized in order to blend two textures into one shader, which will be presented in future posts.

Maya Hardware renders:


Below is a Playblast flythrough with a moving point light to showcase normal map strengths: